Cutting out the ailerons
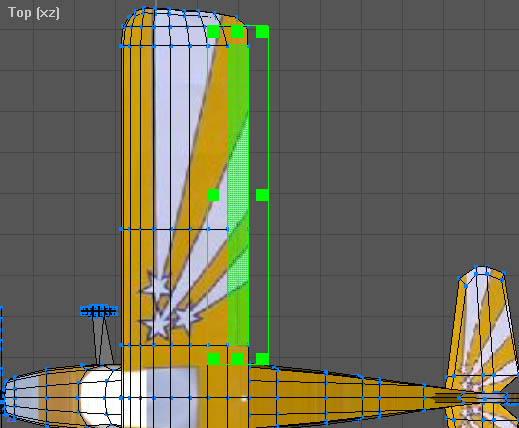
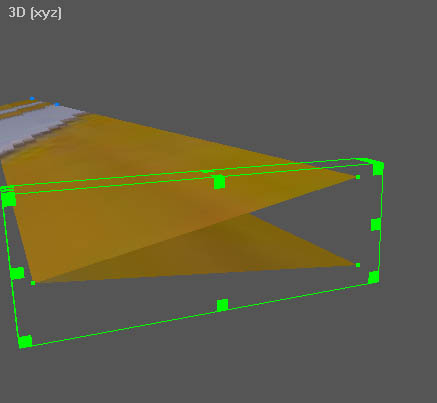
Let's start with the ailerons. I am going to make the ailerons strips but not to go the full span of the wing. The portion I'm going to use is shown highlighted.
One reason for this choice is that the original author has made it easier because they have placed vertices for the top surface of the wing directly over the bottom surface vertices.
The second reason is that at this stage I don't want to add the complexity of extending the cut line all the way to the wing tip.
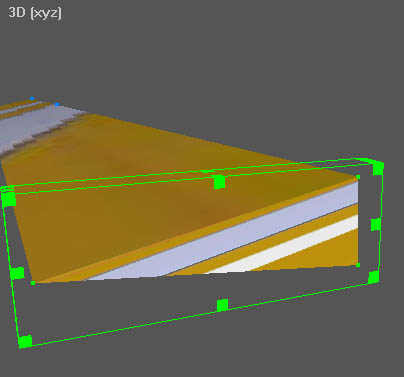
To start the cutting process, switch to vertex mode and select the area of the right aileron. It is important that you do the selection using a bounding box (click and drag to surround the vertices) not by pointing at individual vertices. By using the bounding box you simultaneously select both the top and bottom surface vertices.
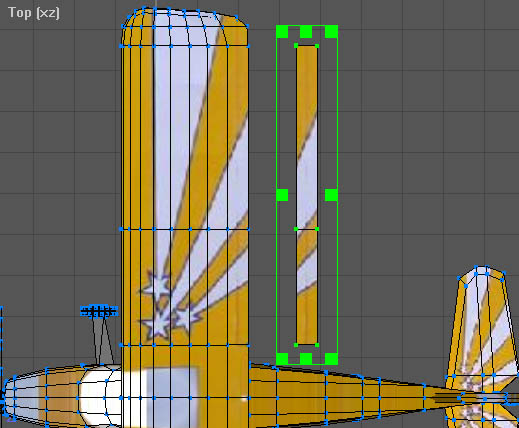
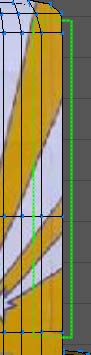
With the vertices selected perform a copy and paste (edit->copy, edit->paste) you will initially see no difference. You can now drag the selected elements to the right as in this picture.
If the drag distorts the model then it is because a new object was not pasted. To correct this select edit->undo (CTRL-Z), this will then undo the drag. You can then try the copy and paste again.
If you now switch to object mode you will be able to rename the object to 'Right Aileron'.

Now that we have our right aileron we need to cut out the space on the wing to fit it. The simplest way to do this is to delete surfaces. Switch to surface mode and select one of the surfaces where the aileron will go and then push delete.
As this will only delete the top surface you may not seem much difference, this is because you are now looking at the back of the bottom surface, so select that and delete it also.
Keep repeating this until all the necessary surfaces have been deleted. At this point you could just use things as they are but you may notice some odd visual effects later in ClearView if you do.
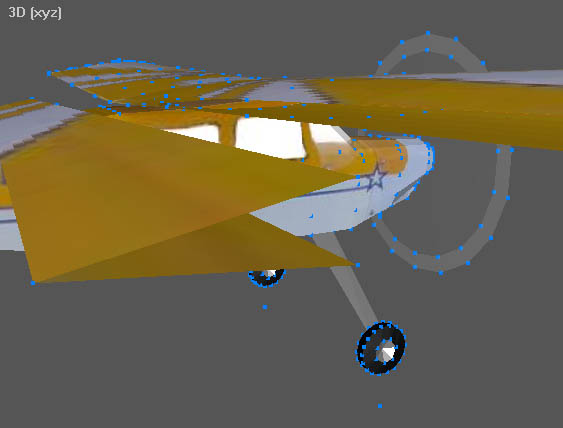
If you take a closer look in the 3D window you will notice that the new aileron and the space where it came from seem to be missing some surfaces so you can see inside.
It is a good idea to correct this. If you leave it then ClearView will often give you glimpses of the inside when you manipulate the surface which looks strange.
Let's start by putting the surfaces onto the aileron. To make this easy hide everything except the right aileron. Use the object hierarchy window (F8) to select all then push Hide: Sel. Unhide the right aileron by right clicking in the object hierarchy window and selecting unhide.
You will now begin to create some new surfaces. Generally this is simpler to do using the 3D window as it is easier to see that you have selected the correct vertices.
To create a new surface we need to select the three or four vertices that will make up the new surface. Whilst it is possible to create a surface using more ClearView will not display it and it will have to be triangulated.
Start with the right hand edge of the aileron and individually select each of the three vertices.
Tip: if you can't see the vertices you can display them by selecting vertices from the 3D menu.
Tip: hold shift when selecting additional vertices.
Although it doesn't matter which vertex you chose first it is important that you select the rest going anti-clockwise. This ensures that the 'normal' is in the correct direction. Don't worry if you do it wrong you can always flip the 'normal' as discussed earlier.
You now create the surface by selecting 'Create Ordered Surface' from the Vertex menu (Ctrl-Shift-S).
You will notice that a texture has been applied and although this is probably not the look required we can change it later. For the moment leave it and create the remaining three surfaces of the aileron.
The long front of the aileron is made up of two surfaces. Don't be tempted to just create a single surface using the four corner vertices as this creates an object that has a hole in it, somewhat analogous to not gluing it in the middle. At times you will be able to see the very thin gap so it is something to be avoided.
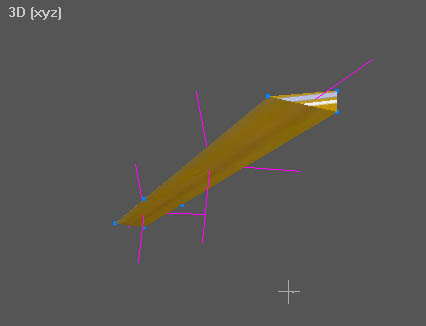
A good idea at this point is to turn on the display of 'normals' and check that they are as they should be, correct any that are wrong.
Let's now correct the texture that has been applied to the new surfaces. In this instance we just want the surfaces to be completely yellow and the same colour as the rest of the wing. Although you can do all the new surfaces in one go let's do them one at a time for experience.
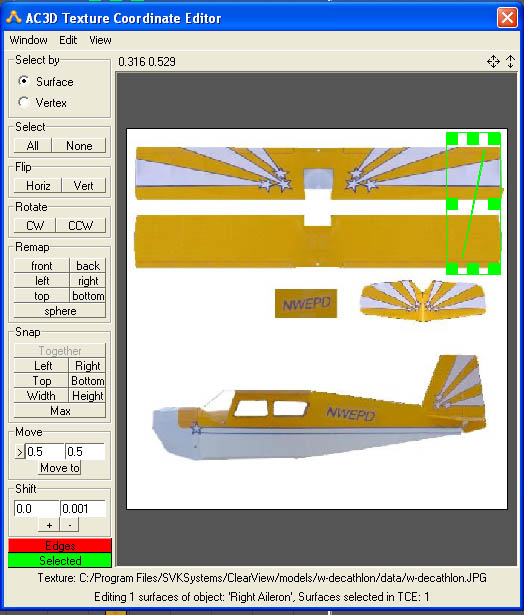
Start with the right hand edge of the aileron. Switch to surface mode and select the surface. Now open the texture editor (Tools->Texture Coordinate Editor or F10). At first you may not see anything in the window so zoom out to see the whole image. You can also select surface and then push Select All to see a bounding box with the surface highlighted.
Now at this point you could go to the trouble of correctly laying out the triangle but since we just want the whole surface to be yellow if we make the triangle extremely small we can then place it anywhere on the yellow areas.
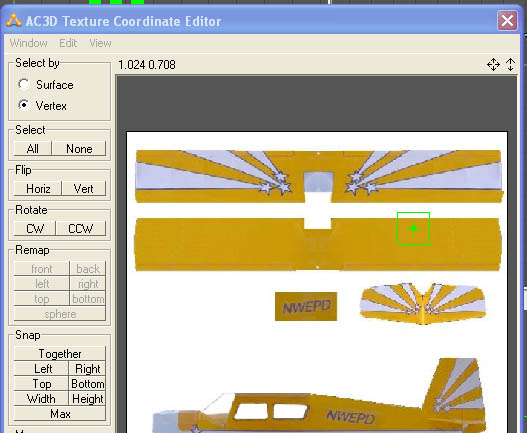
To do this change to Select by: Vertex and the push Snap: Together. You then have what looks like a single point which can be dragged to sit over an area of yellow.
If you take a look at the 3D window you would now see that it has become full yellow.
Now repeat this exercise for the remaining surfaces of the aileron.
With the right aileron completed hide it and unhide the wing. You can then do much the same actions to fill in the missing surfaces in the aileron gap.
With the right aileron completed you can repeat the actions on the left wing to create the left aileron. Finally with both ailerons complete you can unhide everything and, switching to object mode, move the ailerons back into their normal position.