Step 2 - Tidying up the import
The conversion process results in a lot of duplicate information in the model file that has to be removed and some modification made to help both with texturing and general model presentation.
The first step is to load the model into AC3D. ClearView converts the FMS
model file in one called body.ac in a directory associated with the name you
provided in step 1. In this case it can be found in:
'SVKSystems/ClearView/models/w decathlon/data/body.ac'. Once the
model is loaded if you take a look at the model information by pressing F6
you will see that it consists of:
- 6 meshes
- 7 objects
- 1158 surfaces
- 6888 vertices
To remove un-necessary vertices first close the model information and then ensure that nothing is selected. (Click somewhere outside the bounding box.)
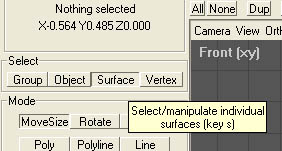
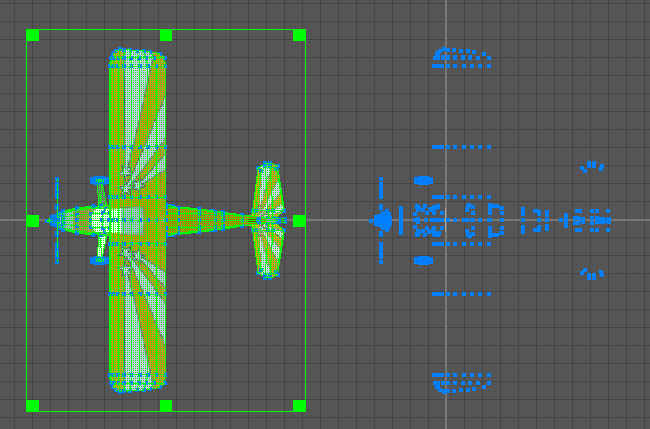
Switch to surface mode and then select any surface on the model. Then select all surfaces using CTRL-A (or edit->select all). In one of the 'orth' windows you can now drag the plane to one side and it will leave behind a number of vertices in the shape of the model.
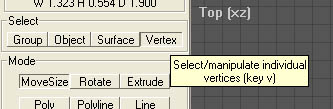
Now switch to vertex mode:
Select all the unwanted vertices on the right:
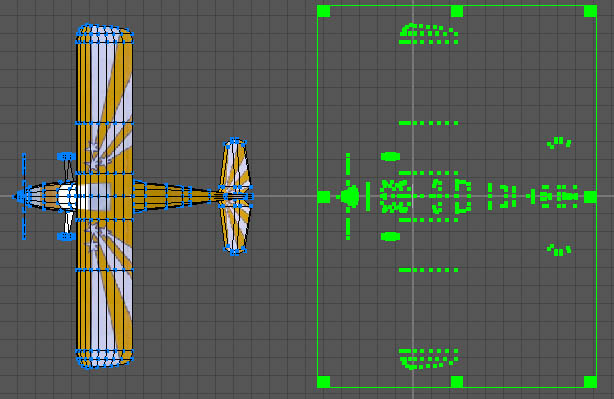
And delete them, leaving just the model.
If you now look at the model info again (F6) you can see the difference. There are now:
- 6 meshes
- 7 objects
- 1158 surfaces
- 1291 vertices
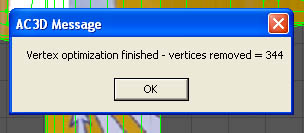
Although the majority of the unwanted vertices have been removed there is still likely to be some more left. It is now time to optimise the vertices. Make sure everything is selected and then optimise the vertices by selecting object->optimise vertices. It will tell you when it is complete and how many, if any, unwanted vertices it removed.
Incidentally this process would not have removed all the unwanted vertices that were deleted earlier as this only works for vertices that are part of a surface, the ones earlier were not. That is why they were left behind when we moved all the surfaces to one side.
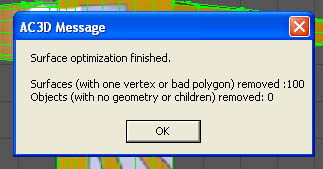
At this time you can also optimise surfaces to remove any bad surface. A bad surface is one that has less than three vertices. To optimise surfaces again select everything in object mode then select object->optimise surfaces. It will tell you when it is complete and how many, if any, bad surfaces it removed.
The basic tidying up is now almost complete. Two other checks are worth doing at this point. Checking for invalid polygons and checking for any surface made up of more than four vertices.
Select surface mode and ensure that nothing is selected. Now chose edit->select surfaces->invalid poly. This will select any surface that is an invalid polygon. In this case there isn't any but for some models there will be some selected. If found they can either be individually fixed or just deleted. Sometimes deleting invalid polygons leaves holes in the model that will need to be patched but generally the changes are invisible.
To check for surfaces made up of more than four vertices (ClearView will refuse to display such surfaces) again make sure nothing is selected then chose edit->select surfaces-> > 4 vertices. In this case nothing is selected but if found they can very easily be fixed. Whilst the surfaces are still selected chose surface->triangulate and it will reduce the problem surfaces to triangles which are valid. This may have some effect on the look of the model but generally this can be fixed later.
This part of the tidy up is complete so save the file. This is important as modifying textures can often result in the need to try different approaches and sometimes it is easier to start again rather than try to fix a change.
With experience you would probably merge objects, check and modify surface characteristics at this stage to improve the final look of the model. However, that is for an advanced guide.