Cutting out the elevator
Now for the elevator, exactly the same techniques are used to create the elevator. If you take a close look at the tail plane you will see a natural line for the elevator. Although it is not straight it is close enough that the difference will not usually be noticeable and using it as it is saves a lot of work.
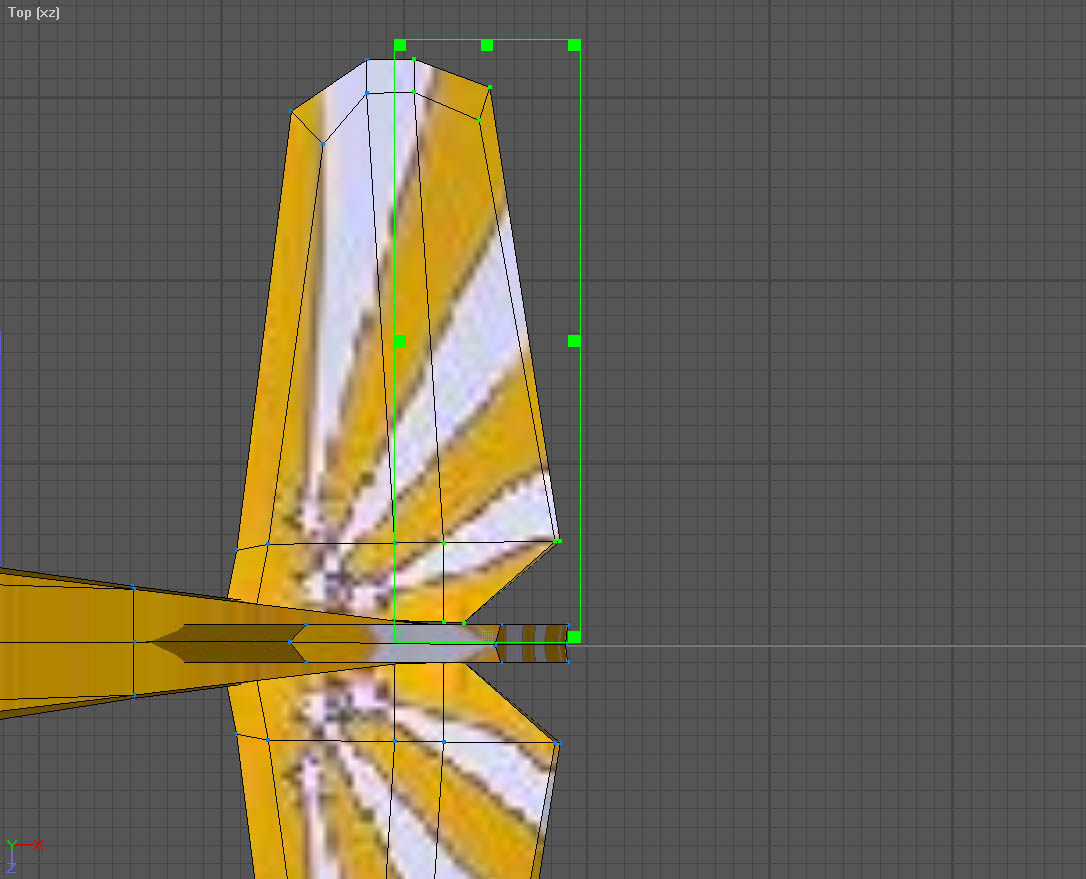
Again the original author has used vertices that lie above one another so we can use vertex mode and a bounding box to select the relevant vertices.
Tip: if you can't position the bounding box to encompass all the vertices in one go you can use two or more bounding boxes, remember to keep the shift key pressed when you create the next bounding box and AC3D will add them all into the selection for you.
As you did for the ailerons create a right and left elevator. Each elevator needs four surfaces to be created and three surfaces in the gap it came from. Incidentally if you take a look at the textures when you have created the surfaces they match quite well to the pattern on the top and bottom so you may wish to leave them like that rather than making them all yellow. Which ever you prefer is correct. At this point save the model because we are next going to add new capabilities to AC3D.